


 11 / 20

9
options can be learned from the description of the style contained in the
dialog boxes
Style
,
Change Styles
,
Organizer
(
Home
tab >
Styles
). All the
dialog boxes listed above include the
Description
section, which contains all
the parameters of the format [8, p.50].
3.6.1
Formatting options for the table of contents.
In the
Table of Contents
dialog box (
References
tab >
Table of Contents
) you can format the table
of contents in various ways: you can select one of the proposed options for
the heading and page number design, you can change the number of levels
of headings that will be included in the table of contents.
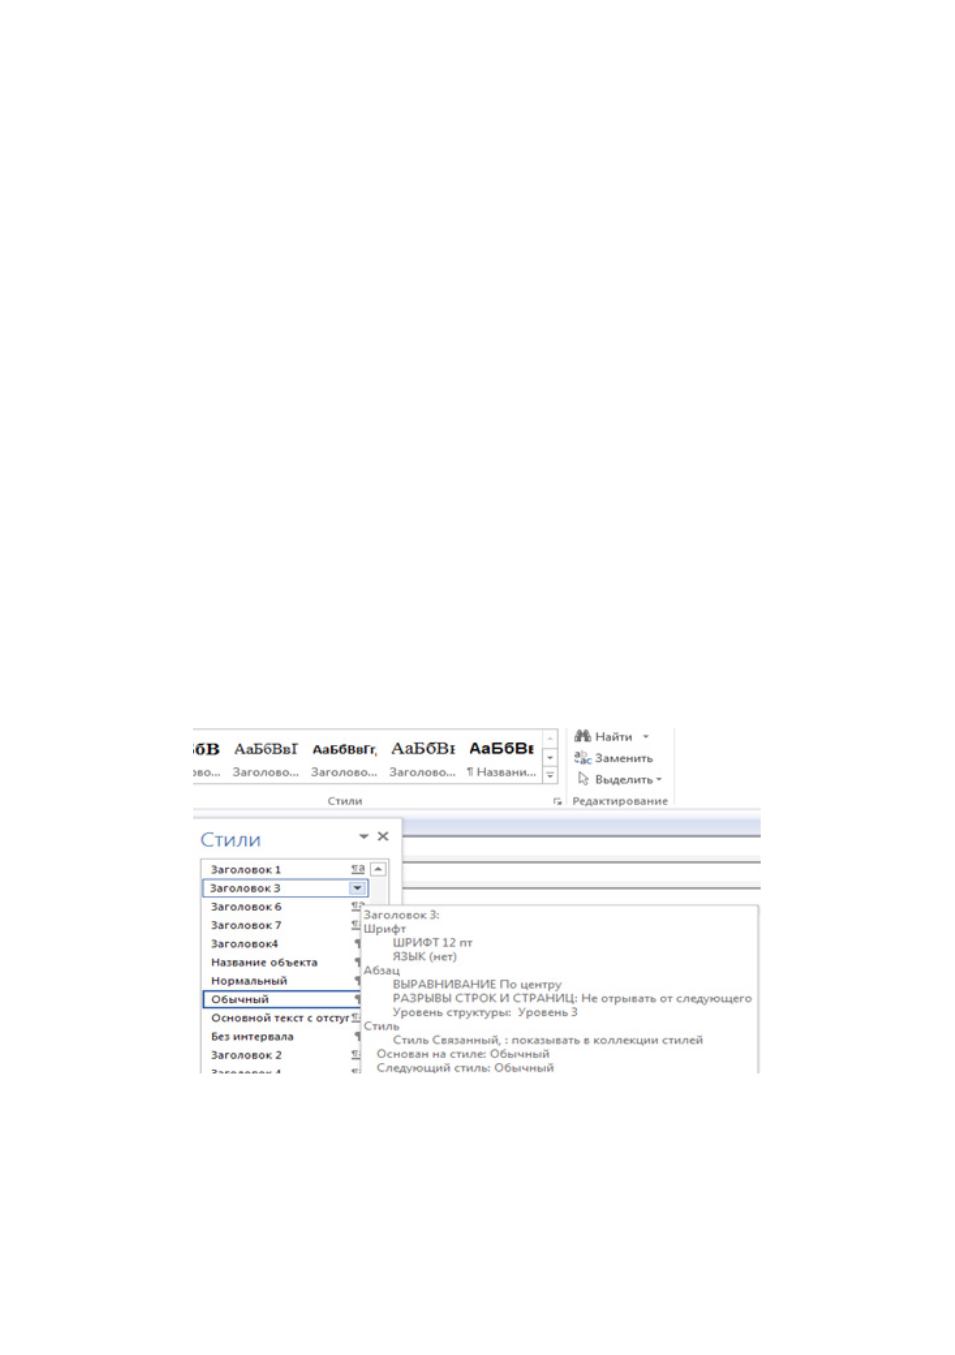
The process of creating a table of contents is the following: select
the
headings that should be entered in the table of contents
(for example, Head-
ing 1 – Heading 9 styles of sections, paragraphs, subparagraphs, etc.), design
subheadings according to their level, write captions for figures and tables,
highlight new terms and notes, insert footers (headers) and pages, etc. (Fi-
gure 4.), place the cursor in the place of the document where the table of
contents should be inserted (the beginning or the end of the document), se-
lect the commands
References
tab>
Table of Contents
>
Automatic table
1
, click OK. Formatting each element manually is ineffective, therefore us-
ing styles can help you to set several formatting options.
Figure 4. Registration of table of contents headings
3.6.2.
Updating the table of contents in case of a document change
. If
the document has been changed in such a way that the changes should affect
the table of contents, you will have to update the table of contents, using
References
tab >
Update table
.